※NOTICE※
New 3D manipulator was implemented from Clip Studio Paint Ver 1.6.2.
This makes Clip Studio Paint significantly improved and more easy to use.

Also Multiple selection of objects is possible in Ver 1.6.2

Back to Content
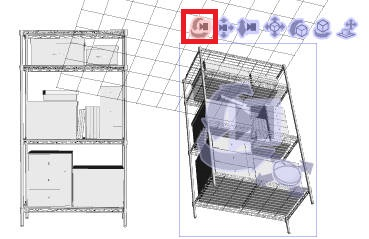
What is 3D Material?
3D material is a material that can create line drawings with complex backgrounds and accessories by one click.
Moreover, it is possible to draw according to desired perspective setting because it is free angle.
The more complex it is to make and perspective, the more effective it will be.
It is the most convenient material that achieve significant time reduction and efficiency.
Also, it can adjust the monotonous digital line drawing to sketching style
by “Correct line width” filter function and use vector layer.


3D LT conversion drawing

Example of drawing created by editing 3D drawing.

Back to Content
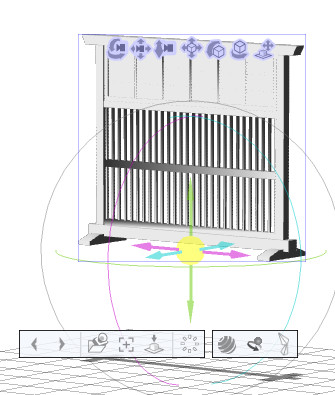
Basics Operation of Camera
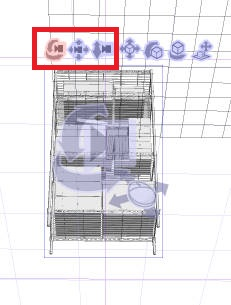
As you import the 3D file, the window shown below appears on the tool property.
A blue list is displayed above the 3D preview.
※3D tool properties are displayed when operation tool is selected.
You can adjust the camera angle from the list on the object.
・Angle change
You can also drag while clicking on a any blank part of the page.
・Slide
・Zoom up and Zoom out
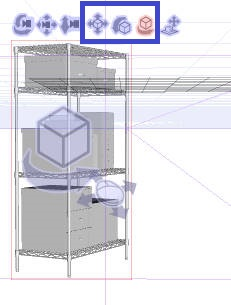
The camera mark (red frame) changes only the camera angle while fixing the object position.
The cube mark (blue frame) changes only the object angle while fixing the camera position.
Although the two seem to be similar, the usage is very different,
but beginners are enough to get used to the basic operation of camera first.
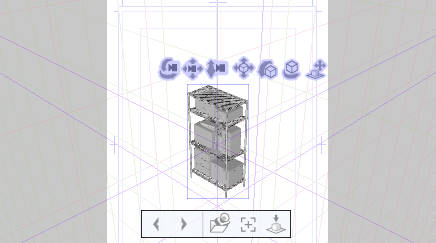
Using the Preset will change the camera angle along the thumbnail.
Preset are useful when you want to quickly change to a specific angle.
Back to Content
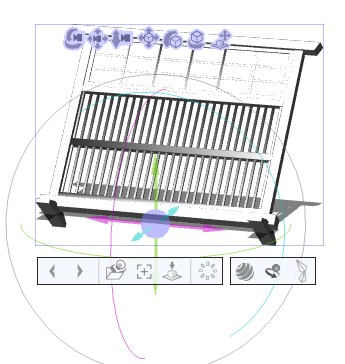
Basics of 3D Grid
We will use 3D grid to make 3D material more convenient.
You can see the triangle ruler and the X mark on the layer displayed (within the blue frame)when you import 3D material (red frame) .
Right click the ruler’s mark (blue frame), and select Show Ruler.
Perspective ruler along the 3D objects were displayed.
Click the Snap special Ruler mark (blue frame), under the top menu .
It became possible to draw according to the ruler.
It is useful for adding lines to 3D objects and for creating backgrounds that match objects.
Back to Content
Perspective Function
By using the perspective function of 3D material,
the range of expressions widens more.
Set the Perspective from within the red frame in the figure below.
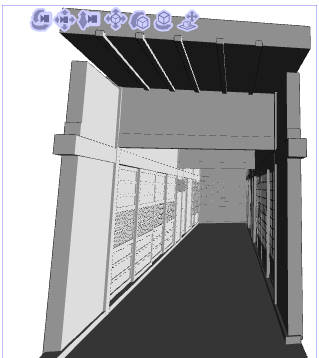
By raising the numerical value of perspective, the object was parsed.
The perspective function is very useful in the space where you want to give depth.
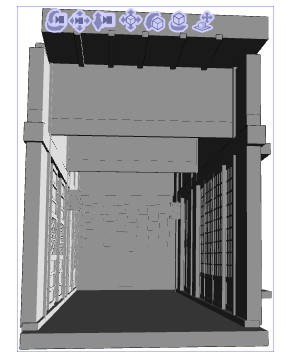
By default there is also a corridor with a short depth…
By attaching a perspective, the depth increased many times.
It’s a very nice feature that you can easily create depth and complicated spaces that require time and effort in sketching.
Back to Content
Adding and Deleting 3D Objects
Working more than one 3D material simultaneously makes work smoother.
Select the already loaded 3D layer (blue frame).
Drag and drop a new 3D file onto the same layer (page).
Click the pull-down next to the name (blue frame)
Make sure that a new 3D object is added.
By doing this work, you can simultaneously perform multiple 3D camera angles,
LT conversion and the efficiency of work will be increased many times.
In order to import multiple objects on the same layer, you need the original 3D file.
Please note that it can not be done in the 3D material that already registered as material on Clip Studio.
However, if you cannot import another 3D material on same layer, you can duplicate the same object.
Select an object and make a copy from the edit tab.
(Ctrl+C is acceptable)
When copying is done, select Paste.
(It can also be Ctrl + V)
The same object was duplicated on the same layer.
Objects on the same layer can perform camera angle and LT conversion at the same time, so work efficiency gets much higher.
Next, delete unnecessary objects.
With the arrow mark (red frame) displayed under the 3D object,
select the corresponding 3D and press the Delete key on the keyboard.
As of Version 1.6.2, only parent objects can be deleted.
Deleting a 3D parent object in a parent-child relationship also deletes all child objects.
You can not delete a single child object pinpoint.
Child objects not to be used are OK if you click the eye mark (red frame) and hide it.
Back to Content
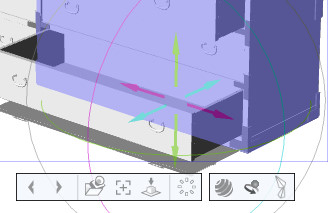
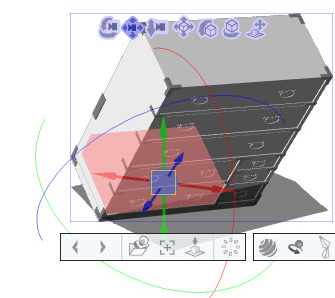
As a premise of manipulating multiple objects, we will start with the basics.
Adjust the slider in the blue frame displayed in the red frame pull-down to move the object.
X = Move left and right Y = Move up and down Z = Move back and forth
With Ver 1.6.2 and later, this operation can be easily done with a manipulator.
Drag and drop each arrow in the desired direction.
Red = move left and right Green = move up and down Blue = move back and forth
Drag and drop the center sphere horizontally and vertically.
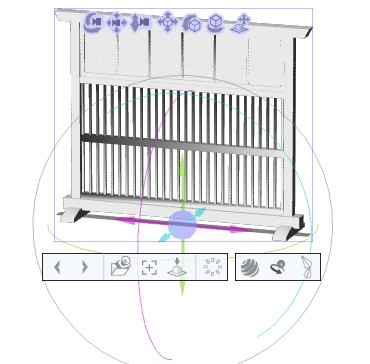
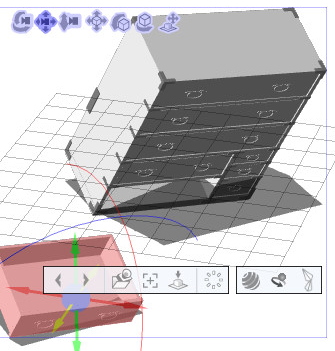
Rotation preview of each item is as shown below.
An object can also be rotated with drag and drop a cube type icon in the list menu.
With Ver 1.6.2 and later, this operation can all be done with a manipulator.
You can rotate the arc of each color in the desired direction by drag-drop.
Red = rotate left and right Green = rotate up and down Blue = rotate back and forth
Based on the above basic principle,
we will first manipulate a single object using a manipulator.
3D material have some parts.
This is called parent-child relationship. ※Parent (3D whole) child (each part)
The color of the manipulator changes with parent and child.
※ When parent is selected
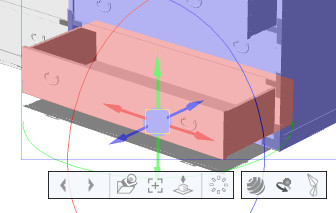
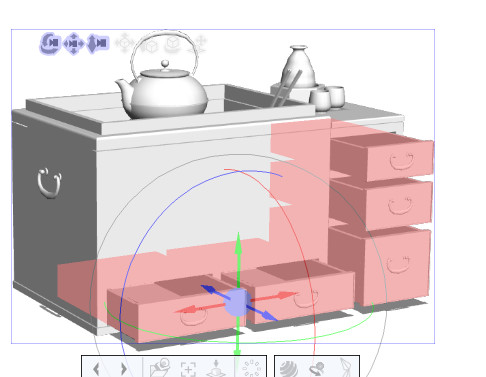
Let’s try the operation to open the drawer of the child object.
Click the child object you want to move.
Drag and drop the blue arrow (it will change to yellow) of the manipulator toward you.
The drawer slide.
Click the blank part of the page then click the 3D object to select the parent object again.
The color of the manipulator will be change.
The point to watch out here is that the manipulator is linked with camera rotation and does not interlock with object rotation.
The figure below shows the state in which the object is rotated.
You can see that the arrow is initially fixed.
Select a drawer in this state…
When I pulled it back and forth, it flows in a different direction.
Use Revert mode back to initial pose and start over, or use the tool property slider to prevent this.
From Ver 1.6.3 it is now possible to select multiple objects.
※Only for Clip Studio Paint Japanese version temporary
Multiple selections can be made by holding down the Shift key and clicking the corresponding object.
You can also pull out drawers at the same time as shown below.
To select from the list, hold down the Ctrl key and click.
You can select multiple parent objects with the same way.
Then we will do individual operations of multiple objects.
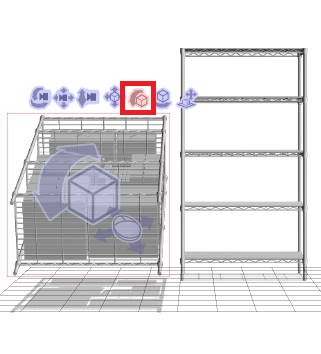
Select the parent object you want to operate with the arrow in 3D menu (red frame).
It can also be selected from the pull down (blue frame).
Operate the object alone with each cube mark (red frame) or circular arc of the manipulator.
Adjustment with the slider, numerical input is effective for specifying a specific angle.
Rotating 90 degrees here is certain.
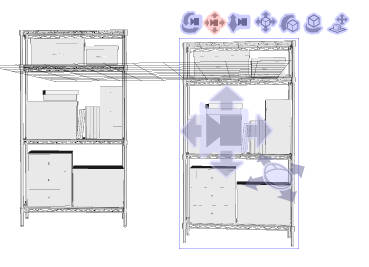
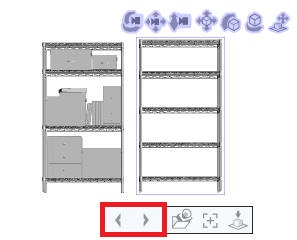
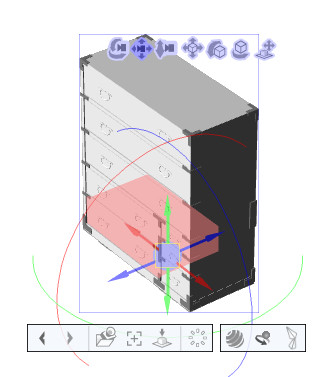
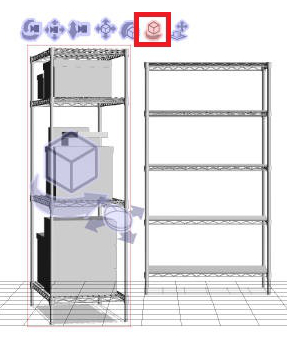
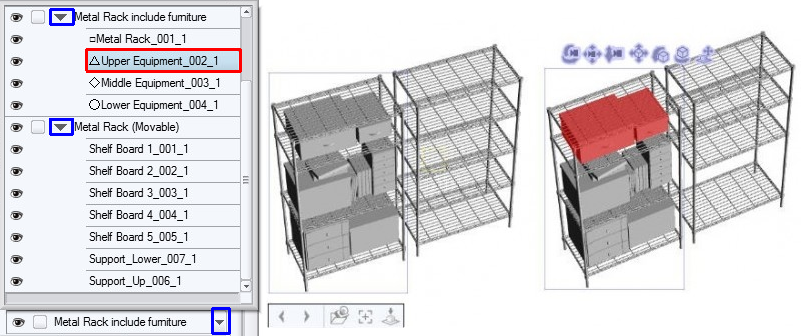
Let’s start by transferring the upper furniture to the next metal rack.
Click the furniture on the upper row.
The color of the object is changed. (right figure).
You can also select from part list from pull down (blue frame) next to 3D material name.
Use the position slider (or move arrow of the manipulator) to slide object.
The upper furniture was transferred in the adjacent metal rack.
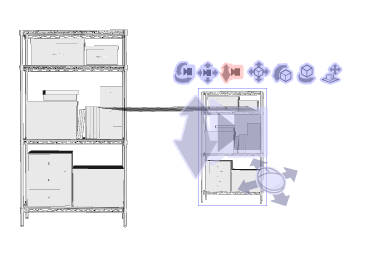
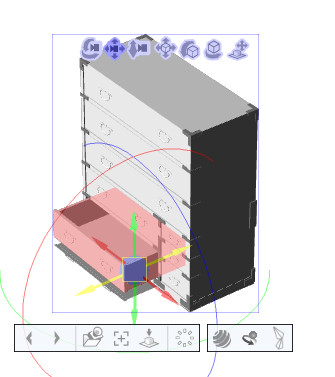
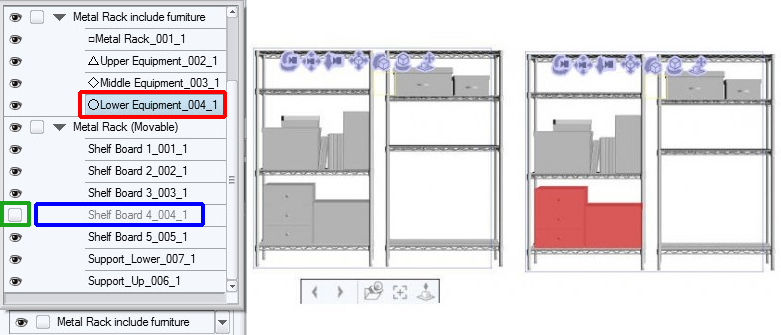
Also click on the furniture on the bottom row.
Unnecessary parts (blue frame) are hided by clicking the eye mark (green frame)
The position slider (or arrow of the manipulator) is adjusted and the transfer is completed.
※With Ver 1.6.3 and later, this work can be done at once with multiple selections.
※Only for Clip Studio Paint Japanese version temporary
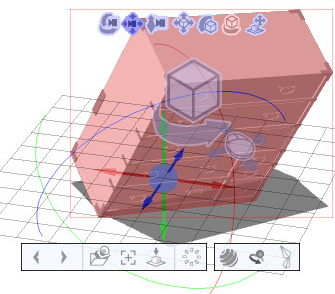
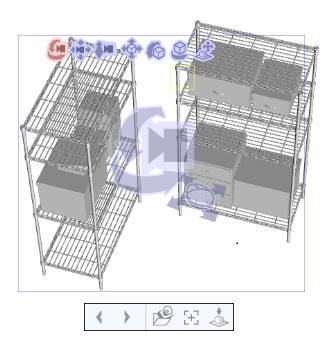
Next, let’s horizontally rotate the remaining part = metal rack and middle furniture 90 degrees.

Enter the numerical value next to the slider (blue frame) and rotate is completed.
Rotate the middle furniture as well.
※With Ver 1.6.3 and later, this work can be done at once with multiple selections.
※Only for Clip Studio Paint Japanese version temporary
Rotation is completed.
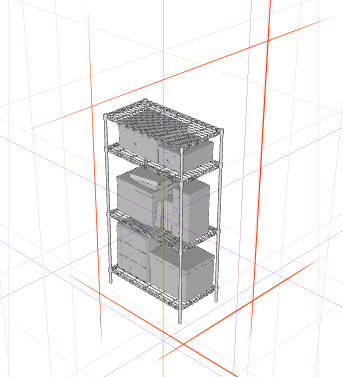
Check the position by changing the camera angle.
It is completed if there is no problem.
However, as in the example of above, placement of child objects with different parents is for advanced users.
Because Ver 1.6.3 currently, you can only select multiple parent objects or child objects in a parent-child relationship.
You can not select multiple objects that cross another parent/child.
※Now multiple selection is only for Clip Studio Paint Japanese version temporary
Therefore, if you inadvertently move the parent object,
all the child objects will be linked together as shown in the figure below.
In this case, it is necessary to adjust the position of the corresponding part again,
so it is very complicated and accident increases, so you need to be careful.
Back to Content
We start LT conversion after you set up the angle of 3D material object.
You can get outline and even shading of 3D object with one click.
All the basics so far for this LT conversion of layer.
The background drawing speeds up revolutionarily by mastering 3D functions including LT conversion.
Adjust the light source before renting.
Drag the sphere in the red frame with the mouse to determine the light source that matches the scene.
To check the image of the line drawing before the LT conversion, choose “Extract line” (red frame) of the layer property.
The line was extracted, but at the moment it is still image vision.
Press Execution of LT conversion of layer.
LT conversion of layer can be done from “Layer” tab.
The LT conversion of layer window was displayed.
Various items appear side by side complicated, but basic requirement is very few.
The types of layer, the Line width, and Accuracy of detection are numerical values that determine the accuracy of the LT conversion.
Set numerical value of Accuracy of detection basically between 50 to 100.
※The appropriate numerical value varies depending on the 3D object.
※Smooth is effective for 3D objects with a lot of curves,
but it is not necessary for this 3D, so it is omitted.
If you put a check in the preview, the outline is clearly displayed,
but the line is too thick and it will not be much reference.
Adjust the Posterization in Tone work (blue frame).

In this case simply set 100% (beta) and 10% (light shadow).
A tone layer will be created at this density.
LT conversion will start when you press OK.
LT conversion has been completed.
An outline and tones of the density set up earlier and background of white (Ground) are automatically created on the layer.
Here is an enlarged image.
Although it is a net of a rack which becomes a very detailed work in hand-drawn, a outline drawing and a tone but ended in only a few seconds.

3D function is revolutionary excellence that automatically make perspective shading and drawing outline,
but pictures will turn out looking too digital drawing like the state above,
so from here please try to incorporate it in your own work style.
Back to Content