There are various customization elements in the brush material of Clip Studio,
and you can use the material more effectively by changing the setting.
This page tell you about the setting when drawing a dead tree using “branch brush”.
Learn how to correct line width of brush material here
Learn basics of brush materials here
Setting for easily draw branches of big trees with Branch Brush
Using branch brush material,
You can easily draw a framework of the tree like below.

First, stamp branches radially using the branch brush with the maximum size.
However it is difficult to change the size and direction one by one.

So we will change the brush material setting.
Open the “Sub Tool Detail” window as shown below and select “Brush tip” then “Direction”.

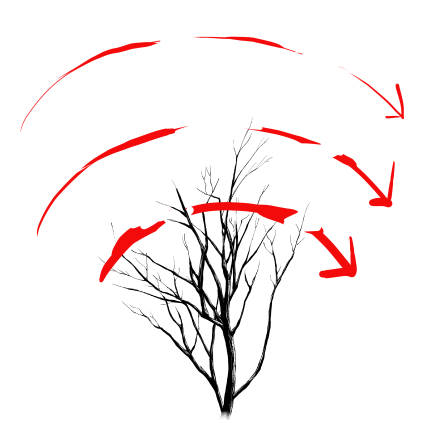
Radial drawing can be made only with strokes.

Also change the brush size and gap setting to give more natural expression.
(Small numbers are optional)


Based on the core branch, the pen pressure is stronger as it is closer to the trunk,
the pen pressure is weaker as the outside of the branch.
Basically draw it with your preference.

The part which could not draw well will need to add extra with a stamp.
It is complete for the moment.

The branch section can hide with leaves, but
in the case of dead trees, the cut parts (red circle) will be bothersome.

Connect these branches with a black pen.
The center branch (trunk) is also completed by drawing it thicker.

Since Clip Studio Paint is difficult to change the fine direction, please try to draw smoothly using settings.
Related Materials


